


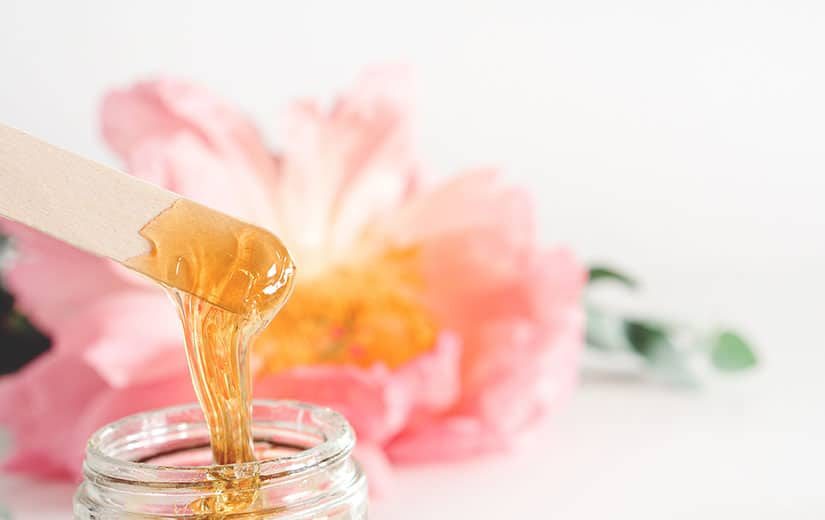
Making your own hair removal wax is easier than you think. The trick is to stick to the exact proportions of the ingredients. Temperature control is equally important. This recipe requires patience. Follow the instructions exactly. The result is a smooth and inexpensive paste. It feels gentler on the skin than commercially available waxes. The application is gentle. Your pores will thank you.
Why homemade waxing is better than hair removal methods
You will feel a special sense of relief when you peel off the wax strip and see the clean, hairless roots behind it. But commercially available wax? This often feels like a compromise. Yes, you will lose your hair, but you may also be left with redness, stinging, and a chemical smell. Homemade wax, especially the style known as “oriental wax,” changed that. It’s not just cheap. It is gentler on the skin.
The secret lies in the ingredients. We are not fighting industrial adhesives. It contains sugar, lemon, and honey. Sugar is a natural antiseptic and helps the skin heal. Lemon is recognized as a antiseptic and can actually slow down hair growth. Honey? It is an antibacterial agent and a deep moisturizer.
“Because we use warm wax, the heat causes the pores to expand. This not only reduces pain, but also allows the wax to stick to the root of the hair instead of the surface.”
Because of this physical reaction, homemade wax can remove all the hair. No stubble. No broken strands. This is a game changer for sensitive skin. No harsh chemicals or synthetic antiseptics that can cause allergic reactions. In fact, many people find this method more effective than over-the-counter products at preventing ingrown hairs. Over-the-counter products typically place ingrown hairs on top of the skin instead of pulling them up from underneath.
You can also use it safely on your face. In fact, it’s better at getting rid of pesky upper lip fuzz than store-bought facial waxes. The recipe is simple. It is very cheap. When you do, you’ll realize you’ve been paying exorbitant prices for wax strips for years.
The Recipe That Actually Works
People are afraid of getting burned or messing up in the bathroom. Their caution was not unfounded. Sugar burns. However, if you follow the proportions correctly, you will get a smooth, flexible paste that works just like a professional wax.
This is what you need to prepare for the first time.
The Ingredients
* Sugar: White sugar is best. It creates the base structure.
* Lemon juice: Fresh lemon juice is ideal, but you can use bottled lemon juice in a pinch. The acidity helps to break down the sugar bonds, making it easier for them to spread completely.
* Water: Enough to dissolve the sugar at first.
Process
- Mix in a saucepan: In a small saucepan, combine 1 cup sugar, 1/4 cup lemon juice, and 2 tablespoons water. Stir until the sugar is moistened but not completely dissolved.
- Carefully heat: Put the pot on medium-low heat. Don’t rush. High temperatures quickly caramelize the sugar and form a hard caramel that is impossible to remove.
- Check the colors: This is the hardest part. You are looking for a change in color. It’s starting to clear up. Move to a light gold. Stop when it reaches an amber color. This usually takes about 5-7 minutes. Do not walk away.
- Cooling: Remove from heat immediately. Cool until warm to the touch. It’s not hot. If you can’t hold your finger


Faire sa propre cire à l’eau sucrée maison n’est pas sorcier, mais il y a une logique précise derrière la texture. Si vous suivez les ratios à la lettre, vous n’échouerez pas. Mais attention : la qualité des ingrédients fait toute la différence. Optez pour du bio. Votre peau va y passer. Et les produits industriels chargés de conservateurs ? Fuyez.
Les ingrédients de base pour une cire douce
Vous avez besoin de précision. Pas d’approximation. Voici la liste stricte :
- 60 g d’eau
- 280 g de sucre de canne
- 40 g de citron bio (jus)
- 20 g de miel bio
- Un peu d’hydrolat de rose ou d’eau de fleur d’oranger (pour le parfum)
Outils indispensables :
– Une balance de cuisine (pour les doses exactes)
– Un thermomètre (optionnel, mais fortement recommandé pour éviter de brûler le sucre)
Vous voulez faire plus grande quantité ? Pas de problème. Doublez ou triplez les doses. Gardez les proportions. La cire se garde plusieurs semaines au frigo. Quand elle est froide, elle est dure. Donc, deux options pour la réchauffer : quelques secondes au micro-ondes ou un bain-marie doux. Vous cherchez la consistance idéale. Elle doit être souple.
Préparer la cire sans prise de tête
L’hygiène est non négociable. Des ustensiles propres. Des bocaux stériles. C’est la base.
- Dans une casserole, mélangez le sucre, le jus de citron et l’eau.
- Feu doux. Ça ressemble à un caramel. Mélangez délicatement.
- La mixture va commencer à épaissir. Les bulles vont apparaître.
- Là, arrêtez de remuer.
- Si vous avez un thermomètre, plongez-le. Visez 120°C. Ne dépassez pas cette température. Au-delà, le caramel durcit comme de l’ardoise. Inutilisable.
- Hors du feu. Incorporez le miel.
- Attendez. C’est long. La cire doit refroidir avant application.
- Ajoutez une cuillère de fleur d’oranger ou d’hydrolat de rose si vous voulez sentir bon pendant l’épilation.
- En refroidissant, ça devient une pâte semi-liquide. Parfaite pour l’application.
Comment réussir son épilation avec cette cire maison
L’application demande une certaine technique. Ce n’est pas comme retirer un band-aid. C’est plus délicat.
Commencez par exfolier la zone. Retirez les cellules mortes. La cire accrochera mieux les poils. Pas les peaux mortes.
Appliquez la cire dans le sens de la pousse des poils. Une fine couche. Pas trop épaisse. Trop épais et ça ne tiendra pas. Trop fin et ça ne capturera rien.
Attendez que la cire soit tiède, mais encore un peu molle. Pas froide. Pas bouillante. Tiède.
Retirez-la contre le sens de la pousse. En un mouvement rapide, net. Pas d’hésitation. L’hésation, c’est la douleur. Et les poils qui restent.
Pourquoi choisir cette méthode plutôt qu’une cire industrielle ?
La cire à l’eau sucrée est moins agressive que les cires chaudes enrobées de résines. Elle n’abîme pas la barrière cutanée sur le long terme. Elle est économique. Elle ne contient que des
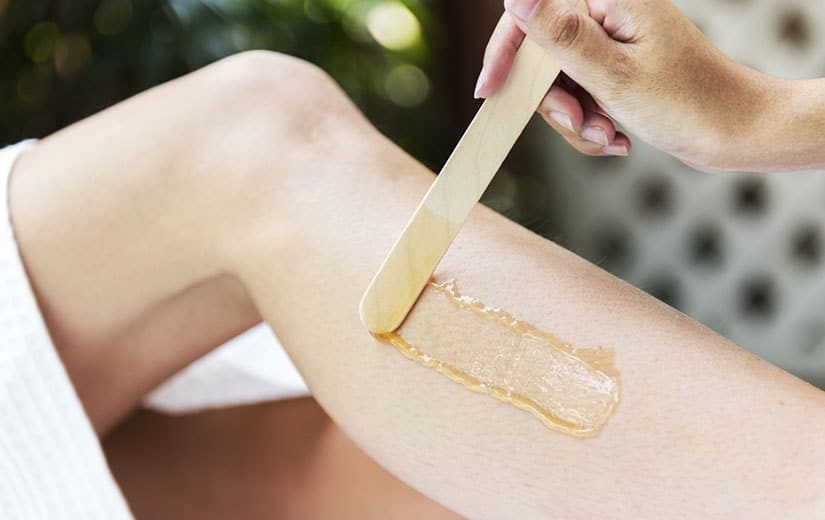
The magic number of homemade wax is special. The goal is 45-50 °C. It doesn’t get hot at all. It’s not cold anymore. The double boiler is useful if you want to heat the wax from the fridge. Pay special attention to the thermometer. You need mobility, not the risk of burns.
Settings
You will need tools to apply the wax. Popsicle sticks are useful. A sterile spatula works. Don’t waste it.
Reusable strips are cheap and effective for removal. Or Practice zero waste. Cut an old muslin handkerchief into strips. The wax is sugar-based, so it can be washed off with water. The tiles in the bathroom do not get dirty. you are safe.
How to apply without feeling pain
First apply thinly and evenly. Adjust the size of the tape according to the area you want to treat.
Place the tape. Press firmly. Massage for a few seconds to make sure the wax is well absorbed into the skin and hair.
And then the moment of truth. Remove the tape quickly.
“Corresponds to the direction of hair growth.”
Pulling with the grain rarely works. If you pull against it, the roots will break. It hurts more, yes. But it takes much longer.
Moderate and slow growth
Homemade wax is gentler than commercially available chemical strips. However, the skin is still broken. Treat it as a minor injury.
Rinse with cold water. Pat dry. Then apply Suchet vegetable oil. It’s a little-known ingredient unless you’re French, but it’s a powerful ingredient. It nourishes the skin and can actually slow down hair growth.
Social factors
Why would I do this alone in the dark?
Invite your best friend to your home. Make it a ritual. Take a sip of wine. Laugh in difficult moments. Waxing is cheaper than making an appointment at a salon. Bonds are valuable.
If you are interested in this nature trail, you should look elsewhere next time.
- Oriental wax recipe breakdown
- Homemade deodorant that really works
- Repairs naturally enlarged pores
- DIY sugar scrub for exfoliation
- Tips for natural hair
- Tips for waxing in weeks instead of days


